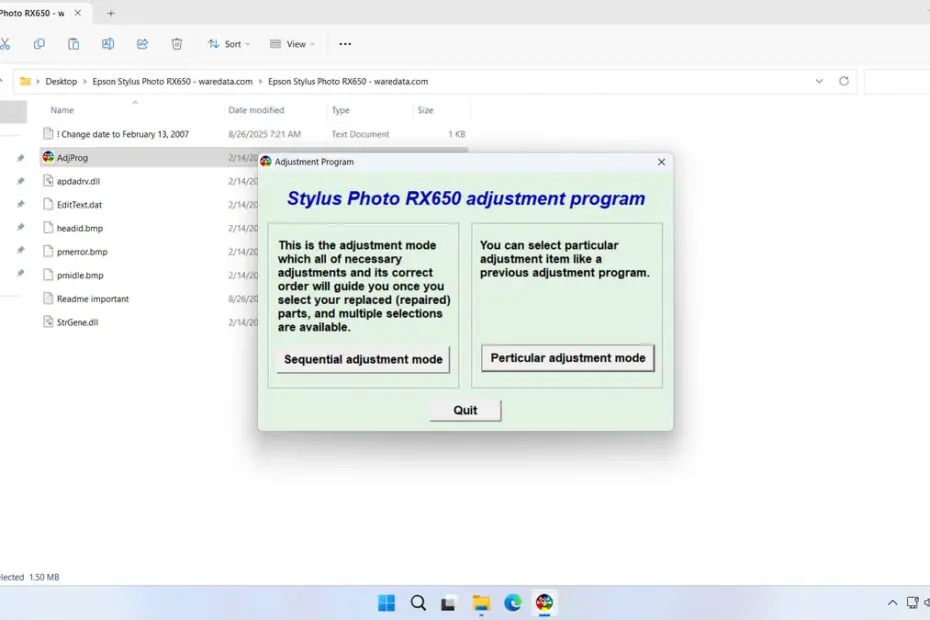
The Epson RX650 resetter is specialized software designed to reset various internal counters within your Epson RX650 printer. The resetter primarily targets the waste ink pad counter, which is an internal mechanism that tracks how much ink has been used during cleaning cycles and maintenance operations. When this counter reaches a predetermined limit, your printer will stop functioning to prevent potential damage from ink overflow.
For this reason, of course, the Epson RX650 Resetter will be very useful if made to perform printer maintenance independently at home, which will certainly reduce the cost of printer usage.
In this article, we will provide a guide on how to use the Epson RX650 Resetter and where you can download it.
Table of Contents
What is a Waste Ink Pad Counter?
During normal operation, your Epson RX650 performs automatic cleaning cycles to maintain print quality. These cycles use ink to clean the print heads, and this excess ink must go somewhere. The printer directs this waste ink to absorbent pads located inside the printer chassis.
Over time, these pads become saturated with ink. The printer’s internal computer keeps track of approximately how much ink has been absorbed through a counter system. When this counter reaches its maximum value, the printer assumes the pads are full and shuts down to prevent ink from overflowing and potentially damaging internal components or creating a mess.
The Resetter is useful for resetting the Waste Ink Pad Counter, so you can use the Epson RX650 printer again in emergency conditions. However, it is advisable to also replace the Waste Ink Pad or clean it of the waste ink so that the ink does not seep and dirty your workplace.
How to Use Epson RX650 Resetter
1. Before you download and use the Epson RX650 Resetter, it is advisable to temporarily disable all antivirus software on your computer. This is done to ensure the reset process runs smoothly. Additionally, make sure the printer is connected to the computer that will be used for the reset.
2. You can download the Epson RX650 Resetter through the link provided below this article.
3. After downloading your resetter file, extract the file by right-clicking on it and selecting Extract All.
4. Open the extracted folder and run the file AdjProg.exe. After that, a pop-up will appear. Please click Accept.
5. Continue by clicking the Particular adjustment mode button.

6. Select the Waste ink pad counter, then click OK.

7. Click Check, then click Initialization. After the reset is successful, click Finish and turn off the printer immediately. Then you can turn the printer back on afterwards.

8. If the reset fails, try moving the printer’s USB cable to another port on the computer, and then you can repeat the reset process.
Download Epson RX650 Resetter Here
The primary risk of repeatedly resetting the counter without maintaining the physical pads is ink overflow. If the internal waste ink container becomes completely saturated, ink can leak onto your printer’s internal circuits and mechanics, causing permanent electrical damage and creating a messy leak.
So to get the maximum benefit from using this resetter, you certainly need to clean the Waste Ink Pad on the printer, or it’s better to replace it altogether. For those of you who need the Epson RX650 Resetter, you can download it through the following link.
File Size: 0.67MB
File Type: .ZIP
OS Support: Windows 7/8/10/11 or higher
Maybe you would like other interesting articles?

