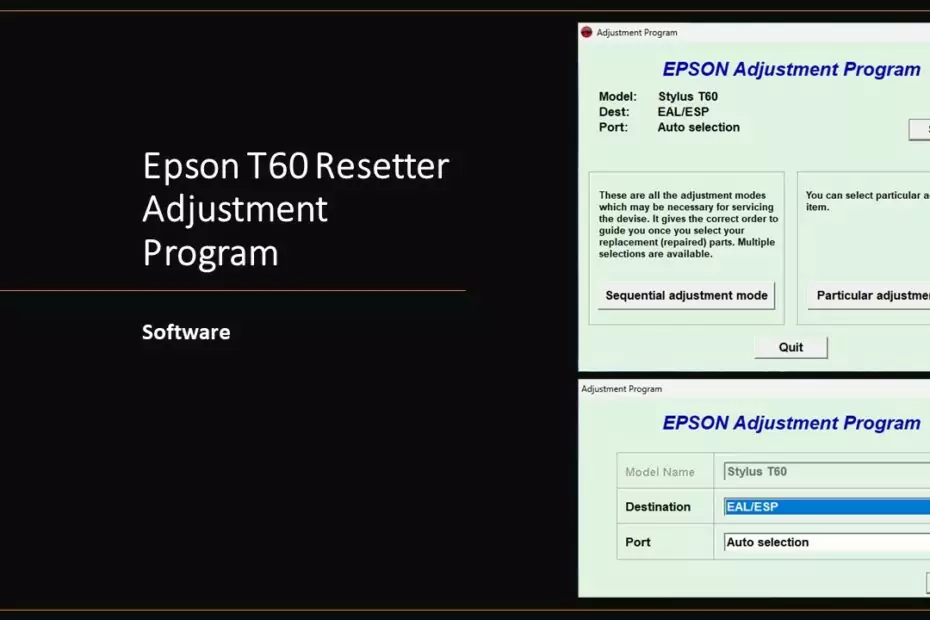
Epson T60 resetter is a software adjustment program used to fix errors on printers with the error message “Service required“. By using the Epson T60 resetter/adjustment program you can’t only fix the “Service required” error condition but you can also use the resetter/adjustment program to perform other maintenance such as repositioning the printer’s head & nozzle.
Epson T60 resetter/adjustment program can only be used on Windows operating systems, be it Windows 7/8/10/11 or above version. You can use the Epson T60 resetter/adjustment program on many PCs at once, so you don’t have to bother when your Epson T60 printer has problems, especially with the code “Service required” and needs repair, because with this error the printer can’t be used even though the printer should be hardware still able to work.
To reset the Epson T60 printer using a resetter/adjustment program is very easy, the most important thing when doing so is that the printer is on and connected to a PC where you will reset the printer with the printer’s built-in USB cable. For how to reset the Epson T60 printer using the resetter/adjustment program you can follow these steps.
How to Reset Epson T60 Printer With Resetter/Adjustment Program
- Before you download the resetter for the Epson T60 printer, you should first disable the antivirus installed in your Windows operating system. This also applies to Windows-based antiviruses such as Windows real time protection & tamper protection found in Windows 10 and Windows 11.
- Then you can download the resetter for the Epson T60 printer via the link below this article.
- After your resetter file is downloaded then you need to extract the file using a program such as WinRar/7Zip.
- Then open the resetter folder and run the file named “AdjProg.exe“. A popup will appear please click “Accept“.
- The next step you can click “SELECT” button. For the destination option, please choose where your printer is made, for example “EAL/ESP“, if you are confused try this option one by one which one works for you, then click “OK“.
- Continue by clicking “Particular adjustment mode” button. Select “Waste ink pad counter“, then click “OK“.
- Check “Main pad counter” option, then click “Check” button, continue by clicking the “Initialization” button.
- If an error occurs repeat steps to reset the Epson T60 printer, also make sure printer is connected to the PC and is on.
- After resetting is successful you can turn off the printer then you can turn the printer back on. You can also close the resetter program afterwards.
FAQ
Why does it fail when performing a reset?
Usually the printer has not been connected to the PC, please also try to use other USB ports available on the PC, often the problem can be solved by doing this.
Does this resetter work on multiple PCs?
Yes, you can use this resetter on many PCs and wherever you are.
Does this resetter work with MacOS?
No, you have to run this resetter using a Windows operating system, such as Windows 7/8/10/11 or above.
That’s a tutorial on how to reset an Epson T60 printer using a resetter/adjustment program. This resetter will be useful for maintenance on your Epson T60 printer so that you will be able to use it again when an error occurs.
Epson Printer T60 Resetter Adjustment Program Download
Resetter: Epson T60 Printer
Size: 1.02MB
OS: Windows 7/8/10/11 or above
How to Reset Epson T60 Printer in Video
If you are having trouble using a resetter for an Epson T60 printer, you can watch a video on how to use the resetter below.

